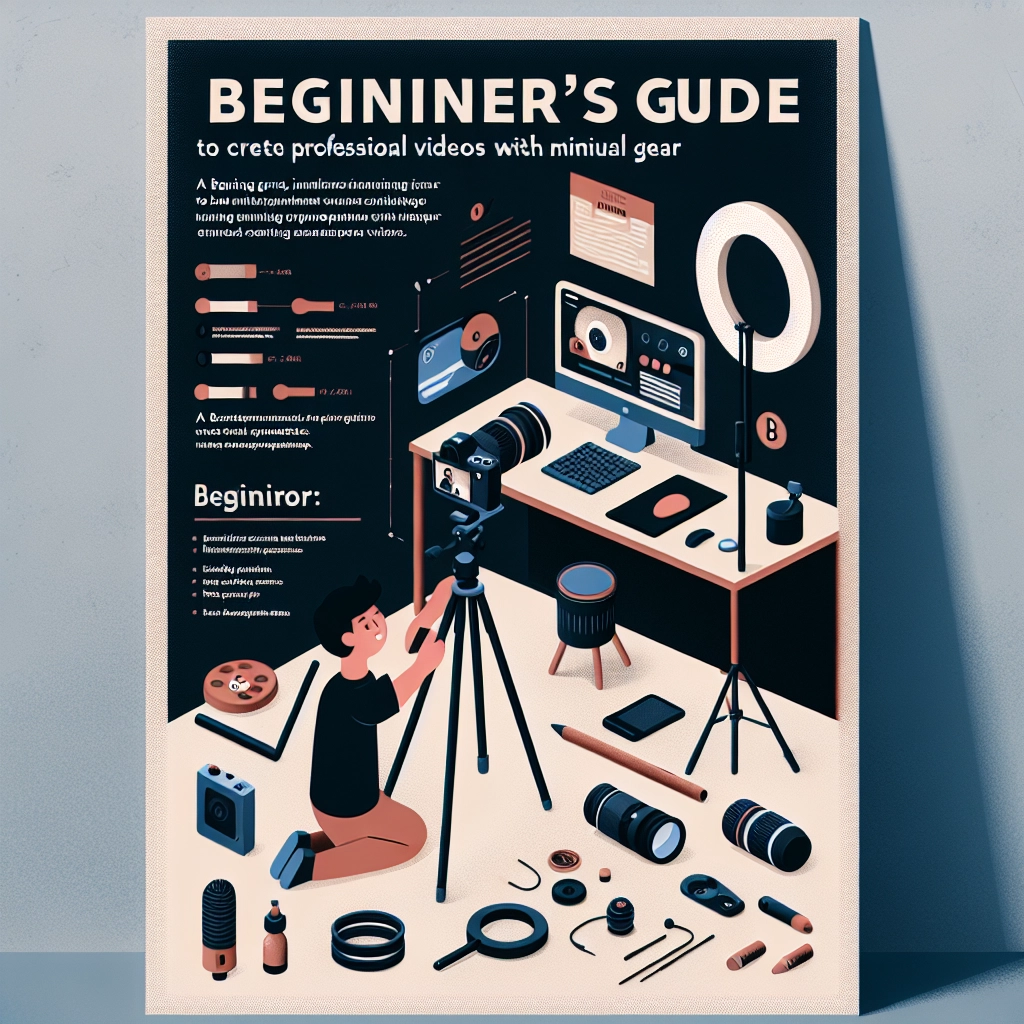
Beginner’s Guide to Creating Professional Videos with Minimal Gear
You don’t need a studio to make sharp, engaging videos. With a plan, a phone, and a few low-cost accessories, you can produce content that looks and sounds professional. Here’s how to get started.
Plan Before You Press Record
Great videos start on paper. Define your audience and goal, then outline a simple story: hook, value, and call to action. Write brief bullet points instead of a full script to keep delivery natural.
- Shot list: wide (establish), medium (action), close-up (details), cutaways/B-roll
- Location check: quiet space, clean background, controllable light
- Timing: keep segments short (10–30 seconds per shot)
Minimal Gear, Maximum Impact
Your smartphone is enough if you prioritize stability, light, and audio.
- Stability: small tripod or stack of books; use a phone clamp
- Audio: wired lavalier or earbud mic; record in a soft, quiet room
- Light: face a window; add a cheap clamp light and a white poster board as a reflector
- Apps: a manual camera app to lock exposure, white balance, and focus
Optional but useful: a simple LED panel, a clip-on ND filter for bright days, and a microfiber cloth for a clean lens.
Shooting Settings and Techniques
- Set resolution/frame rate: 1080p (or 4K if your device handles it), 24–30 fps.
- Lock exposure and white balance; keep ISO low to avoid noise.
- Use the 180° rule: shutter ≈ 1/(2 × frame rate) if your app allows.
- Compose with rule of thirds; leave headroom and declutter the background.
- Light from the side at ~45°; bounce fill with a reflector.
- Capture clean sound: mic 15–20 cm from mouth; turn off fans; add soft furnishings.
- Stabilize: tripod for talking head; for handheld, tuck elbows and move your body, not your wrists.
- Record extra B-roll: hands, tools, environment, reactions for smoother edits.
Editing and Delivery
Import clips, label them, and build a rough cut first. Trim tight, then layer B-roll over jump cuts. Use J- and L-cuts to make audio lead or trail between shots. Apply basic color correction: balance white, adjust exposure, add gentle contrast and saturation. Keep titles short and legible.
- Music: choose royalty-free tracks; lower to −18 to −12 LUFS under voice
- Export: H.264, 1080p, 12–16 Mbps (or platform presets); add burned-in or uploaded captions
- Thumbnail: high-contrast image, big text (3–5 words), clear subject
Start simple, iterate often, and upgrade gear only when your workflow demands it. Consistency and clear storytelling beat expensive equipment every time.